Bicycles are machines and require continual maintenance to ensure performance is optimised, problems are avoided and component lifetimes are maximised. By spending a little bit of time caring for your bike on a regular basis you will make your cycling more enjoyable and prevent small issues becoming big ones.
Here are a few tips and guides to keep your bike in good condition and operating optimally.
The number one cause of premature component wear we see at Pedal On is over zealous cleaning. The seals on your bicycle are designed to keep out moisture and grit on the road or trail at natural pressures. The seals are not designed to protect your components from greater pressures than this because this would require a tighter seal which would create more friction, robbing energy and performance. Consequently, the use of jet washes and domestic hoses with a spray jet will compromise the seals of your bike and may lead to premature corrosion.
Most bicycle manufacturers recommend using only a mild detergent solution to wash your bike, this is to prevent the "good " grease being stripped from your bike. Strong detergents and aftermarket spray "bike cleaners" are indiscriminate and can work their way into seals removing grease where it is needed potentially causing premature component wear, squeaks and creeks. Aftermarket "bike cleaners" can also dull and damage paintwork.
Pedal On and its associate bike manufacturers recommend washing your bike using a mild detergent solution and a brush or sponge then rinsing with clean water. It is best to degrease the chain seperately using a chain cleaner.
Components which have been compromised or damaged by the use of pressure washers and "bike cleaners" will not be covered under warranty.
Note: For waxed chains, depending on the waxing method, a different chain cleaning regime to the one shown is this video may be more appropriate.
Your bicycle is most likely fitted with a breakaway gear hanger which is designed to fail in the event of a crash, therefore reducing the chance of damage to the bicycle's frame. By design, this part is relatively week and is vulnerable to misalignment. Misalignment of this part may cause your rear derailleur to catch the rear wheel and result in an accident or damage. It is imperative that the alignment of this part is checked as part of your pre ride checks, after storage, rear wheel removal, transportation and accidents.
Your bicycle should never be stored with the rear derailleur leant against anything or sat on the rear derailleur with the rear wheel removed. The correct alignment for this part is for the rear derailleur cage to be in the same vertical plane as the rear wheel and not touching the spokes when in the large sprocket (low gear).
This video will guide you through checking your Shimano Road Di2 batteries.
To charge the main Di2 battery you will need a EW-EC300 charging cable.
The gear shifters are wireless and shifter batteries are not rechargeable. Gear shifters require CR1632 coin batteries.
With the built-in wireless technology of Shimano’s 12-speed Dura-Ace R9200 and Ultegra R8100 groups, customizing your setup via the E-TUBE PROJECT application has never been easier. This video takes you step-by-step through connecting to your bike using a smartphone and using the E-TUBE PROJECT app to perform firmware updates, change button functions, adjust shifting, and even personalizing shift patterns.
Learn more about E-TUBE: https://bike.shimano.com/en-NA/products/apps/e-tube-project-cyclist.html
This video will guide you through how to check your brake pads.
This video will guide you through checking your SHIMANO chain for wear and tear.
You will need the following to check your chain:
Shimano Chain Wear Indicator TL-CN42
This video will guide you through how to check and clean your cassette.
You will need the following:
Cassette cleaning brush

Better Shifting is a popular independent website for hints and tips on all things Shimano Di2.
Visit the Better Shifting Di2 website here.
Please note that the information provided by the Better Shifting website is not official manufacturer guidance.
Check your AXS battery charge levels by looking at the indicator light on your derailleur while shifting. There are three different indicator lights on your derailleurs:
1. Green indicates 100-26% battery life remaining.
2. Red indicates 25-10% battery life remaining.
3. Blinking red indicates less than 10% battery life remaining.
You can also press the AXS button next to the indicator light to check your charge level.
Each shifter on your AXS bike is powered by a CR2032 coin cell battery. These easily replaceable watch batteries typically last 1-2 years for most riders. Locate the AXS button and its corresponding LED on each shifter and press it to check battery status:
Green = 6-24 months remaining
Red = 1-6 months remaining
Flashing red = less than 1 months remaining
No light when you press the AXS button? It's time to swap the CR2032 battery. Refer to your drivetrain manual for installation instructions.
You may also view shifter battery status in the AXS app.
This video will show you how to MicroAdjust your SRAM AXS rear derailleurs to fine tune shifting and eliminate unwanted rasping noises.
This video shows adjustment to both Road AXS and Eagle AXS via the SRAM App and manually.
How to: Charge AXS batteries
1. Flip the battery latch up and slide the battery out of the derailleur.
2. Click the battery tab into place in the USB-powered charger.
3. Allow 1 hour for a full charge. The charger's LED will be amber when charging and green when done.
4. Once fully charged, slide the battery into the derailleur and click the latch shut.
5. Enjoy up to 60 hours of riding!
Maximize your drivetrain’s lifespan by being aware of your chain's wear and replacing the chain when necessary. Chain wear depends on ride conditions and cleaning habits, so it's a good idea to learn how to measure for it:
1. Choose an approved chain wear indicator.
2. Install the hooked end of the tool on a link against a roller.
3. Attempt to install the other end of the tool into the chain.
4. If you can insert the tool, the chain is at 0.8% elongation and needs to be replaced.
5. If you can’t insert the tool, the chain is not yet worn enough for replacement.
Approved chain tools can be identified here: https://www.sram.com/globalassets/document-hierarchy/compatibility-map/road/sram-eagle-flattop-and-11-speed-chain-compatible-tools.pdf
Removing the rear wheel on your road bike is quick and easy when you follow our simple steps:
Shift all the way into the hardest gear, which is the smallest cog of the cassette. There’s no need to shift your front derailleur.
With the appropriate tool, loosen and remove the thru-axle from your rear wheel on the non-drive side.
Pull the rear derailleur body back and upward to remove the rear wheel.
Installing the rear wheel on your road bike is quick and easy when you follow our simple steps:
Make sure the rear derailleur is in the fully outboard position. If not, shift all the way into the hardest gear, which is the smallest cog of the cassette. There’s no need to shift your front derailleur.
Guide the chain onto the smallest cog of the cassette.
Hold the rear derailleur back and guide your rear wheel into the dropouts of your frame.
Align the brake rotor between the brake pads in the caliper.
Release the rear derailleur.
Install the rear thru-axle from the non-drive side with the appropriate tool.
Tighten the rear thru-axle to the manufacturer’s torque specifications.
DoubleTap technology delivers both shifts from a single lever on our mechanical drivetrains:
1. To upshift into a harder gear, push the shift paddle slightly inward.
2. To downshift into an easier gear, push the paddle further, past the upshift point.
Your bike maintenance routine should include keeping an eye on your brake pads for wear and replacing them on time. It's quick to check, and easy to swap:
1. Remove the wheel.
2. Use needle nose pliers to remove the circlip from the caliper.
3. Use a 2.5 mm Hex wrench to remove the pin, turning counter clockwise.
4. Put on gloves and pull the pads out of the caliper.
5. Use a digital caliper to measure the thickness of the pad and backing material together.
6. If the measurement is below 3 mm, replace the pads.
7. With gloves on, grab your new brake pads and install the pad spreader spring on the pads.
8. Put the pads into the caliper.
9. Install the pin through the caliper, pads, and spreader spring with a 2.5 mm Hex wrench, turning clockwise.
10. Install the circlip.
11. Before reinstalling the wheel, clean the rotor with isopropyl alcohol and a clean towel.
12. Reinstall the wheel, tightening the axle clockwise to manufacturer’s specification.
13. Lightly pull the brake lever to advance the new pads.
1. To bed-in your brakes, go outside and find an empty flat parking lot.
2. Stay seated while riding, and avoid locking up your rear wheel.
3. Accelerate to a moderate speed, then evenly apply the brakes to slow to a walking speed, then release the brakes. Repeat this process 20 times.
4. Accelerate to a fast speed, then evenly apply the brakes to slow to a walking speed, then release the brakes. Repeat this process 10 times.
5. Let the brakes cool before any further riding.
When brake pads and rotors are new, they must be “bed-in” to reach their full braking potential. Doing so increases friction between pads and rotors by evenly distributing or "bedding in" pad material to the rotor.
The AXS Mobile App is a centralized place to control, personalize and measure AXS enabled components from SRAM, RockShox, Quarq, and Zipp. AXS Web is a complementary web-based tool.
Knowing how to set sag is the key to correct suspension setup. This video from Fox takes you through the process.
More setup info specific to your Fox product can also be found at RideFox.Com

Like having a personal tuner in your pocket, the RockShox TrailHead app is the starting point to get your suspension dialed for the perfect ride.
You can use the online calculator or download the TrailHead App from the Apple Store or Google Play Store.
Follow the process at RockShox's suspension setup guide to optimize your suspension performance and find user manuals. Please note that the settings are a suggested starting point, not rigid values that will work for every rider.

Trek mountain bikes are incredibly sophisticated and require a small amount of set up for the individual rider. Going through this process is necessary to make sure your new bike performs as it was designed.
Follow process at Trek's suspension calculator to optimize your suspension performance. Please note that our settings are a suggested starting point, not rigid values that will work for every rider.
This video from Stans NoTubes highlights some tips to make mounting your tubeless tyre easier.
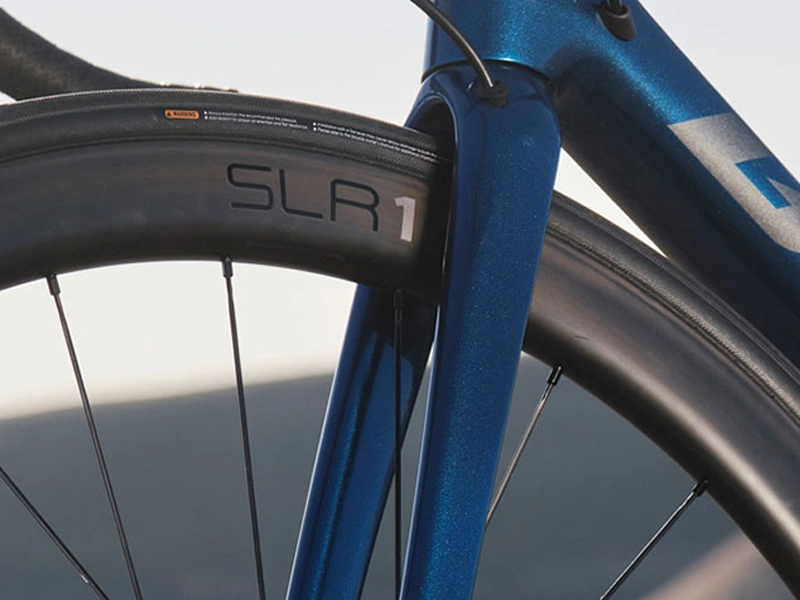
In order to operate your Giant hookless wheels optimally it's essential to ensure that your tyres are correctly inflated.
Details of optimal pressures can be found at the Giant tyre compatibility guide.
Note, this information is relevant to HOOKLESS rims only.
In order to operate your Giant hookless wheels safely it's imperative to ensure the tyres you select are compatible with Giant's hookless system and that the maximum safe tyre pressure isn't exceeded.
Details of compatible tyres and pressures can be found at the Giant tyre compatibility guide.
Note, this information is relevant to HOOKLESS rims only.
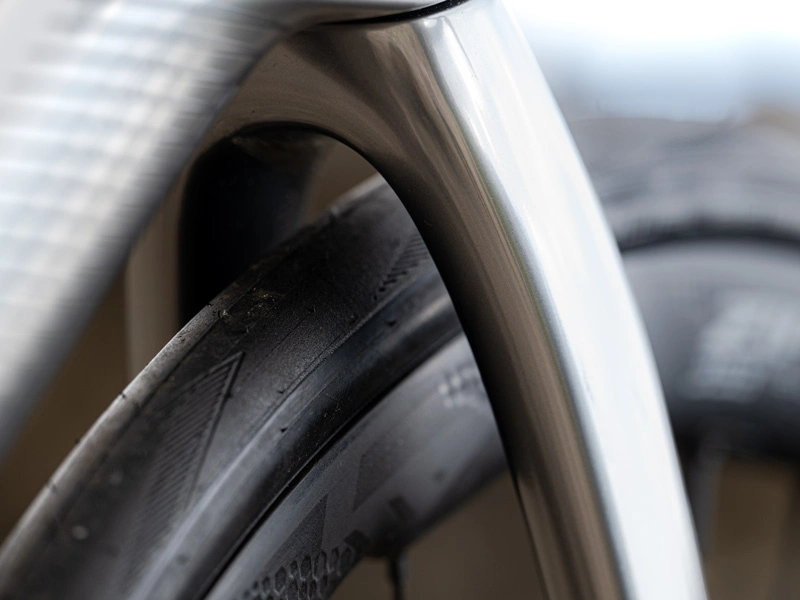
In order to operate your Syncros hookless wheels safely it's imperative to ensure the tyres you select are compatible with Syncros' hookless system and that the maximum safe tyre pressure isn't exceeded.
Details of tyres and pressures can be found at the Syncros tyre compatibility guide.
Note, this information is relevant to HOOKLESS rims only.


 - Rated Excellent