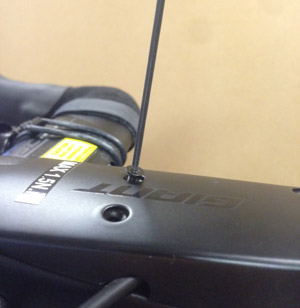
Installation of the Giant Stealth Aero Stem
Certain models of Giant Propel and Liv Envie bicycles are supplied with an internally routed stem which neatly conceals gear and brake cables (depends on model). Due to the specific configuration of the handlebar and stem on these models we are unable to ship them with the stem attached and the cable cover fascia attached.
Fitting the stem and cover is a basic task, similar to replacing a stem, which can be completed by a home mechanic with basic knowledge of bicycle maintenance. We have provided some guidance on this procedure below but recommend you seek professional advice if you are not confident you can complete these steps safely.
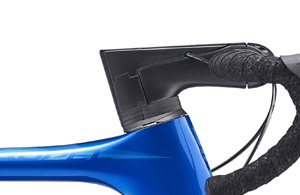
Guide the stem onto the steerer
Having removed the packaging from you new bicycle and unscrewed the headset compression screw and stem top cap from the steerer tube to release the cardboard tube which sits in place of the stem you will need to guide the stem on to the steerer tube.
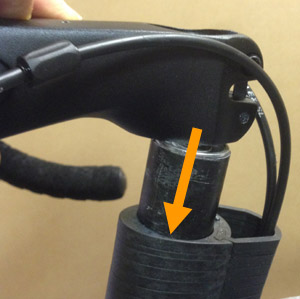
Ensure the stem is correctly seated
Ensure the stem is pushed down to sit flush against the top of the headset spacers.
At this stage you should now align your handlebars with the front wheel.
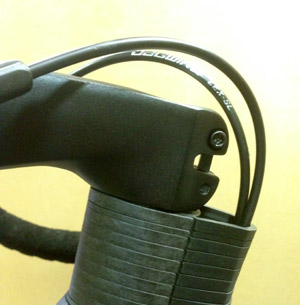
Locate the stem top cap
The stem top cap has a key which locates in the top of the stem and points forward.
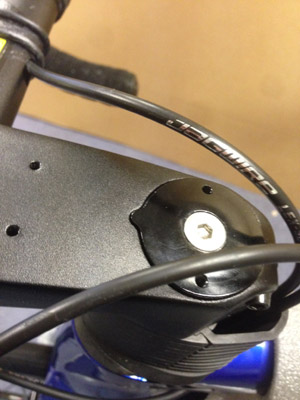
Tighten the headset compession screw
The headset compression screw then needs to be tightened to pull the headset and stem assembly together and ensure there is no play in the headset bearing assembly.
Recommended torque: 2.45Nm - 2.94Nm
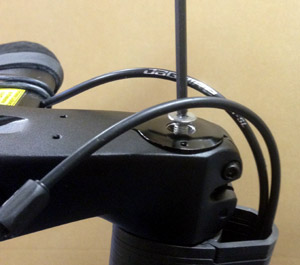
Tighten the stem bolts
Tighten the stem bolts on each side of the stem to the correct torque. Tighten each side a bit at a time to ensure an even torque.
Recommended torque: 5.5Nm
Once torqued you can check the headset assembly is correctly torqued by rocking the bike with the front brake on and feeling for any play. If you can feel any play/knocking in the headset assembly then the headset compression screw should be tightened (it is necessary to loosen the stem bolts before tightening the headset compression screw)
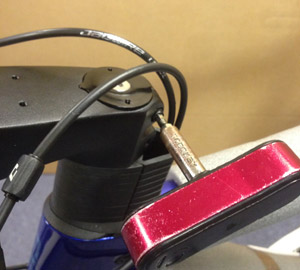
Locate the tongue of the cable cover
Locate the front tongue of the cable cover into the stem faceplate
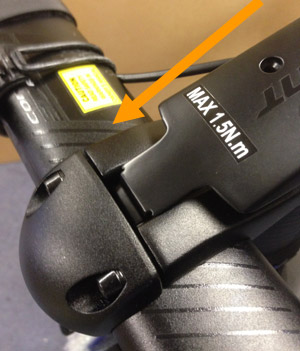
Locate the cable cover in position
Gently push the cable cover down against the top of the stem whilst locating the gear cables in the cut outs along its side.
If the gear cables are preventing the cover from being able to sit flush against the stem check that they are not crossed over at the rear of the stem and run parallel into the headset spacers.
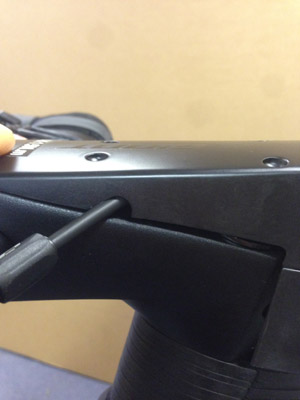
Locate the cover fixing screws
The four cable cover fixing screws come in two lengths. The shorter screws locate in the holes towards the front of the cover and the longer screws at the rear.
The fixing screws are thin and have fine threads. To avoid damage to them or the stem it is necessary to support the stem cover with your hand or by temporarily taping the cover in place whilst locating them.
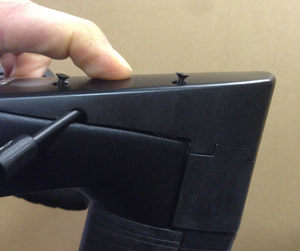
Tighten the cover fixing screws
The stem cover fixing bolts should be tightened to 1.5Nm (this will require a 2mm hex key or T9 Torx key). Take care not to over tighten the fixing screws.
Recommended torque: 1.5Nm
